Three.js
使用 Three.js 在網頁上建立3D場景有幾個注意的步驟:
- 引入
three套件 - 建立場景
Scene - 建立渲染
Renderer - 設定畫布尺寸
innerWidth、innerHeight - 建立攝影機
Camera - 建立/載入物體
Mesh/loop - 建立燈光
Light - 循環渲染
基本安裝 :
這裡使用的是 Vite ( Vue ) 環境。
cmd
npm install --save-dev vite
引入 Three 套件 :
基本上這裡視所要渲染或建立的內容來引入,固定匯入有 Scene、Camera、WebGLRenderer。
html
<html>
	<head>
		<style>
			body{
				overflow: hidden;
				margin: 0px;
			}
		</style>
	</head>

	<body></body>
</html>

場景 Scene 建立
js
const scene=new Scene()
設定渲染 Renderer + 畫面範圍設定
這裡將畫面範圍設定與 window 相同
js
const render=new WebGLRenderer()
render.setSize( window.innerWidth, window.innerHeight )
document.body.appendChild( render.domElement );
建立攝影機(相機) Camera
一般攝影鏡頭(相機)有分許多種,大多使用PerspectiveCamera透視法,與現實中的35mm鏡頭焦距一樣。 
建立物體
引入或建立model時需要注意幾個要點:
- 顏色
color - 表面材質
material - 實體或線條表現
mesh - 放置的位置
position,這裡應該說是與鏡頭的距離 - 尺寸大小 ( 長, 寬, 高 )
- 放到場景內
scene.add()
物體本身在Three中有需多方式建立,包含點、線、面、基本幾何圖形(方體、柱體、球體...等等),在實際網頁中當然是以自己建立的model為主,初步學習則可運用內建物體來練習。
再來是表面材質表現的 MeshBasicMaterial、MeshStandardMaterial,這兩個材質渲染會針對光線的反應有所不同。
js
// 尺寸
const geometry=new BoxGeometry(1,1,1)
// 顏色與材質
const material=new MeshStandardMaterial( { color: 0x00ff00 } );
// 實體或線條
const cube=new Mesh(geometry, material)
// 建立物體
scene.add(cube)
// 放置的位置
cube.position.set(-10,10,10)
// 物體的方向
cube.rotation.x += 0.01;
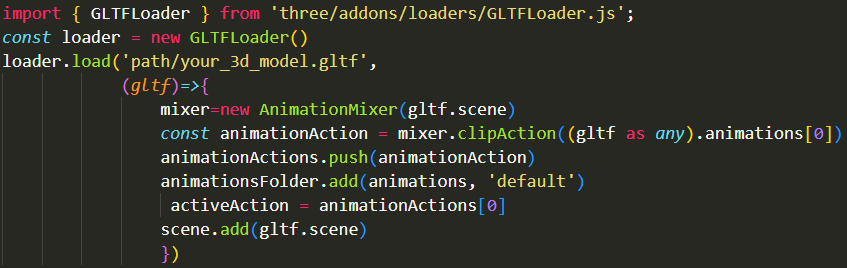
這邊是載入3D Model (.gltf/.glb) 的外掛 Addons
建立燈光

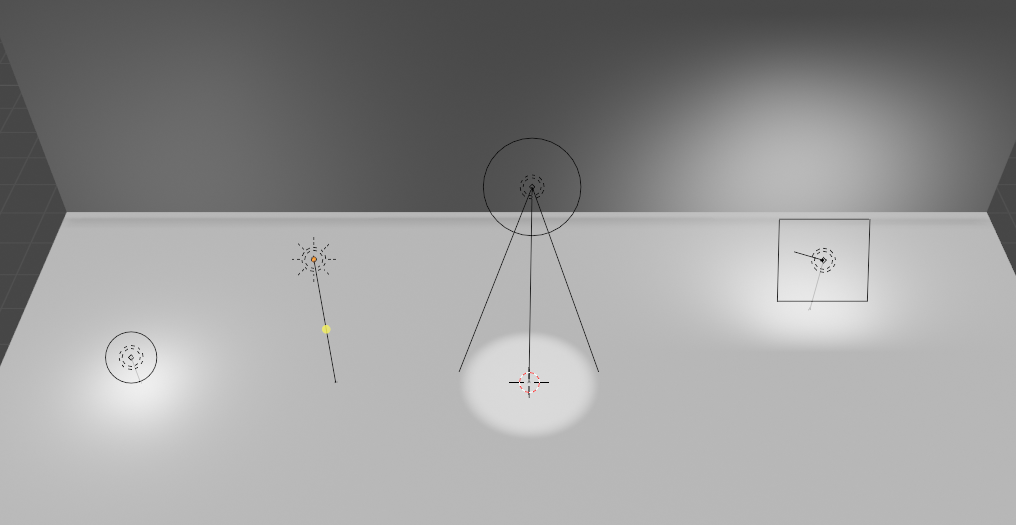
( 圖片是 Blender所設定的4種燈光 )
Three 燈光種類很多,依據3D場景設計的角度來看,常用的有 : AmbientLight環境光、DirectionalLight定向光(平行光)、PointLight單點光、spotLight聚光燈。
基本設定有 : color顏色、intensity強度、distance光照範圍、decay光線衰退變量、position位置。
js
const light=new PointLight(0x404040, 1, 100)
light.position.set(10,10,10)
scene.add(light)
當然有光就有影子,Three也有幾個影子的設定項目,不過除非是要在網頁上建立真實的互動場景,否則通常都使用預設,不會刻意設定影子。<LightShadow影子設定>
循環檢視(渲染)
一般3D模型中不可能只渲染一個面,在 Three.js 中使用所謂的 animate 動畫 方式,其實是告訴程式持續渲染,這樣才能看到物體的各面向外觀。
js
function animate() {
	requestAnimationFrame( animate );
	cube.rotation.x += 0.01;
	cube.rotation.y += 0.01;
	renderer.render( scene, camera );
}
animate();
互動設計
js
import { OrbitControls } from 'three/addons/controls/OrbitControls.js'
const controls = new OrbitControls( camera, renderer.domElement )